How To Have A Salon Like Facial At Home

A facial is the most unwinding and lavish thing that we can do for our skin and ourselves. Who has ever said no to a relaxing facial and spa day? This multi-part face treatment cleanses, rejuvenates, nourishes, and hydrates the skin for a shine that stands out. The trips to the salon are a treat for soul and skin.
Everything was sailing perfectly until the pandemic happened. How frustrating it was to not being able to book and go to your favorite salons for a relaxing day. If one thing that was benefited from the lockdown, it was us becoming aatam-nirbhar. From making dalgona coffees to giving each other haircuts, it was one of a hell of a ride. Let us contribute more to your aatam-nirbhar personality and tell you how you can have a serene, relaxing, and luxurious facial day at home. Preparing you for the next lockdown(hahaha, we hope not!!!) but yes, a hack to save time for sure.
Throw in your headbands, pull your hair back, and follow these 7 steps to give yourself a salon-like calm and refreshing facial at home.

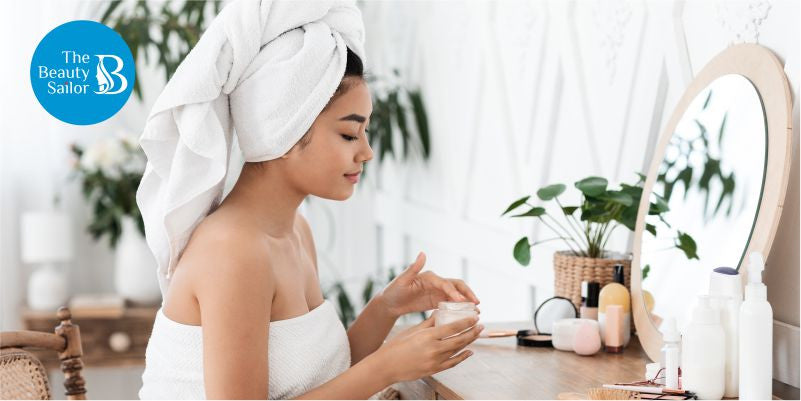
- Soothing Atmosphere- Going to the spa wouldn't hurt you that much if you bring the spa to the home. You cannot have a spa-like experience at home until you create that atmosphere around you. For starters, maybe light a few aromatic candles and play your favorite tracks. You can also have a bath with Epsom salt before starting the facial. Wear your favorite bathrobe, step out in this ambiance that you have created, and enjoy the unwinding journey.
- Skin Cleansing- Now that you are comfortable in the surroundings, the next and crucial step would be cleansing the face. Just like the walls are cleaned before painting and decorating them, the skin needs to be cleansed before working on it to extract the treatment's maximum benefits. It would help if you got rid of the makeup, dirt, and impurities present on your skin. For makeup, use wet wipes or makeup remover. Then for thorough cleansing use, oil-based face washes like "Avocado and Tea tree oil face wash." Using the oil-based facewash will free the skin from the leftover dirt and impurities. Now that the impurities have been removed, use a face wash that suits your particular skin type. This step would focus on your skin's distinct needs, while the first focused on cleansing it.
- Steaming- The superficial impurities have been removed; it's time to work on the deeper level, and steaming is what will lead us to that. Steaming the skin helps in opening pores and softening the skin for further process. It relaxes and moistens the skin. This step is very, very important for the ones that have oily and acne-prone skin. When you are steaming at home, you have to be a little extra careful. You can either heat water in a bowl and then hover your face on it and cover the head with a towel for 5-10 minutes. The other way to do it is to put a hot water-soaked towel on your face, make sure the water is not too hot to burn your skin. DO NOT OVERDO IT.
- Exfoliation- Moving further, the next step would be rubbing your way to reveal glowing skin, aka exfoliation. Use a scrub like "Sparkling Skin Walnut, Coffee and Coconut Scrub" to exfoliate, deeply cleanse, and nourish your tender skin. Scrubbing will brush away the dead skin, blackheads, and excessive oils, making your skin radiant, light, and flawless. Take a pea-sized amount and gently rub it on your skin(face and neck) in an upward motion. You always have another option of choosing and using an enzyme/chemical exfoliator. These will not scratch your skin, and they are perfect for sensitive skin. Rinse the scrub off with lukewarm water.
- Massaging- Weddings without food and facial without massage doesn't exist. It is the most preferred and favorite step of many in the entire facial routine. As for being a favorite and loved step, it is also important. Massaging increases blood circulation improves muscle tone that lead to firmer and brighter skin. Take a little amount of massage cream on your damp palms. Beginning from the middle of your forehead, move towards temples. Then follow along the edges of your nose and cheeks. In the end, massage your lips, jawline, chin, and neck, of course. Use your fingers and go massaging upwards towards the chin for the neck. Continue with the same for 10-15 minutes. ALWAYS MASSAGE IN UPWARD DIRECTION. Wash it with water.
- Mask it up!- It's time to grab your favorite mask and put it on. Put the mask, sit back and relax, while it does all the heavy work in repairing and nourishing your skin. Check out what your skin requires and choose a mask that fulfills the wishes accordingly. Our absolute favorites are "Pink Clay Face Mask" and "chocolate face mask," the first one if you face signs of aging like wrinkles, fine lines, spots, etc., and the second one for hydrating, nourishing, and softening your skin. Leave the mask for 15-20 minutes and then wash it. You can also use a DIY FACE MASK(link blog) for a more natural vibe.
- Tone and Moisturize the skin- Everything is done, the skin has been cleansed, and all the good nutrients digested; now it's time to tone the skin and close the open pores. This step is necessary for the ones with oily skin since it will eliminate the skin's excess oil. Dip a cotton ball in a small amount of toner and swipe it on your entire face. Let it dry. Wrap the entire home facial by topping the skin with a good moisturizer. It will hydrate the skin and seal the moisture. Use a lightweight moisturizer like "light moisturizing skin cream" and massage it gently on your face using fingertips.
So this was the 7 step guide to have a salon-like facial at home. We hope you are going to try and enjoy it for sure. After all, who wouldn't want a relaxing and fun facial day at home?
-
Posted in
face scrub


